Instagram Reels have become one of the most popular ways to share creative, short-form content. To enhance your Reels and convey your message more effectively, you can add text and adjust how long it appears on the screen. Whether you’re promoting a product, making a tutorial, or simply adding captions, adding and editing text in your Reels is an essential skill. Here’s how to do it in three easy steps:
Step 1: Create or Upload Your Reel
Before you can add text to your Reel, you’ll need to create or upload a video. Instagram allows you to either record a new Reel directly or use a pre-recorded video from your gallery.
- Open Instagram: Launch the Instagram app on your device and make sure you’re logged into your account.
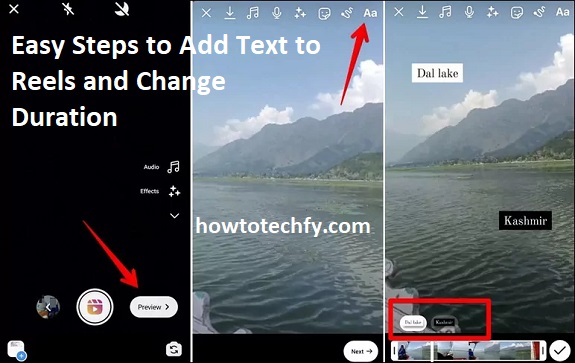
- Navigate to Reels: Tap the + icon at the bottom center of the screen and select Reel to start creating.
- Record or Upload Your Video:
- Record a New Video: Press and hold the capture button to record a new Reel. You can do this in segments or all at once.
- Upload an Existing Video: Tap the gallery icon on the bottom left to upload a video that’s already on your phone.

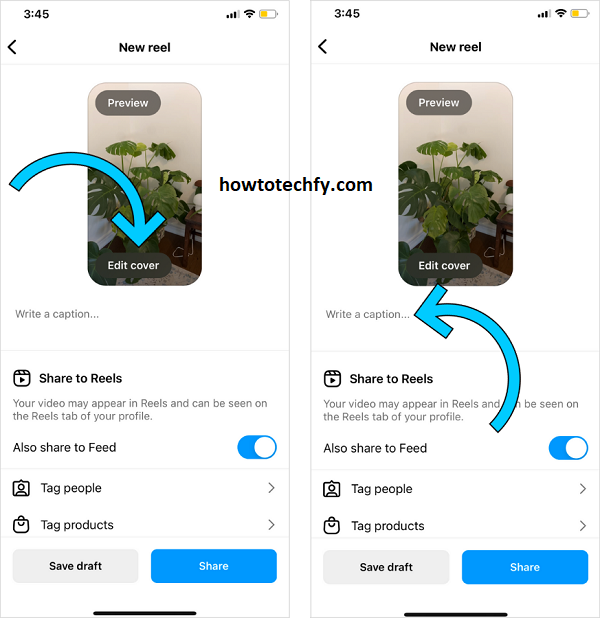
Once your video is recorded or uploaded, tap Next to proceed to the editing screen.
Step 2: Add Text to Your Reel
Now that your Reel is ready, it’s time to add text. Instagram provides a simple text tool that you can use to create engaging captions, titles, or subtitles.
- Tap on the Text Icon: On the editing screen, you’ll see various icons at the top. Tap the Aa text icon to start adding text.
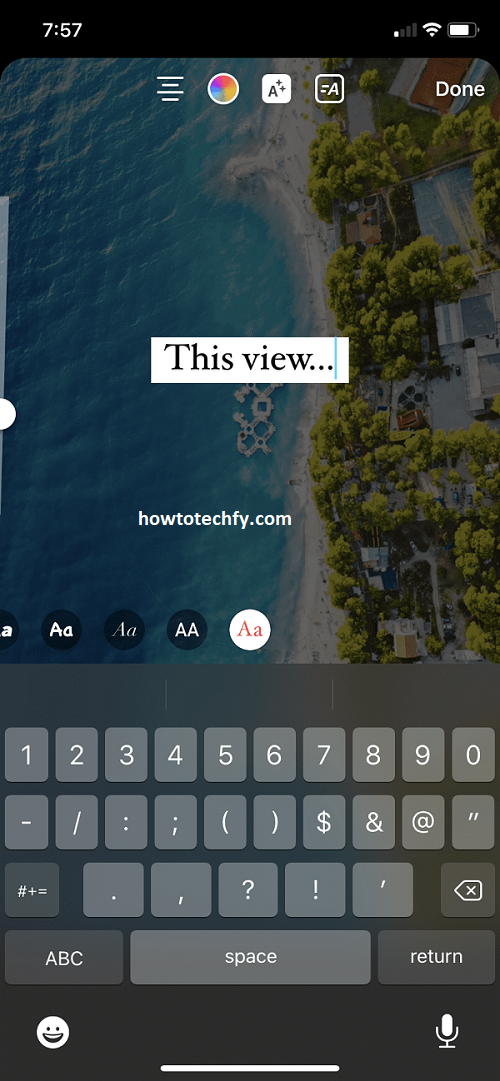
- Enter Your Text: Type the text you want to display on the video. This could be a title, a message, or even a call-to-action.
- Customize Your Text: Once you’ve typed your text, you can:
- Change the font style by tapping the font button at the top.
- Adjust the color of the text by selecting the color icon.
- Move and resize the text by dragging the corners of the text box.
- Rotate or align the text using the rotation icon.

Your text will now appear on the video. You can add multiple text layers and customize them according to your needs.
Step 3: Adjust the Duration of Your Text
One of the best features of Instagram Reels is the ability to control how long each piece of text appears in your video. Here’s how to change the duration of the text:
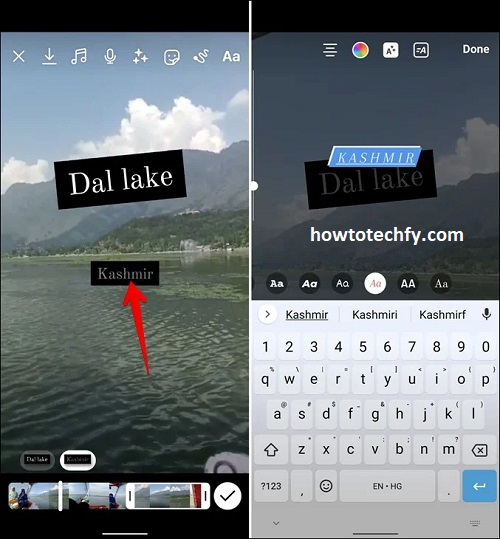
- Select the Text: Tap on the text you’ve added to the video. A menu will appear with options to edit or adjust the duration.
- Set Duration: Tap on the Duration button (represented by a timer icon). This will open a timeline at the bottom of the screen.
- Adjust Timing: Use the slider on the timeline to adjust when the text should appear and disappear during the Reel. You can drag the text box to the specific time frame you want, ensuring that each piece of text shows at the right moment.
- Preview Your Reel: Once you’ve set the duration for all text elements, tap Preview to make sure everything flows smoothly. Adjust the timing again if needed.

Bonus Tips:
- Use Multiple Text Layers: You can add multiple text layers at different points in the video. This is perfect for creating captions, annotations, or emphasis on different parts of the video.
- Use Animations: Instagram also allows you to animate your text, making it appear or disappear in creative ways.
- Experiment with Placement: Move your text around the screen to avoid covering important parts of your video, such as faces or key objects.
Conclusion
Adding text to your Instagram Reels is a great way to engage your audience and deliver your message clearly. Whether you’re sharing a story, tutorial, or promotional content, the ability to customize text duration and appearance gives you full control over your video’s pacing. With these three simple steps, you can easily add text to your Reels and make them even more creative and informative. Start experimenting with text today and take your Instagram content to the next level!

