Creating a Facebook page is an excellent way to promote a business, project, brand, or personal venture. Fortunately, Facebook makes it easy to set up a page from your Android device. Whether you’re an entrepreneur trying to reach new customers or an influencer looking to build a community, having a Facebook page can significantly boost your online presence.
In this step-by-step guide, we will walk you through the entire process of creating a Facebook page on your Android phone, from start to finish.

Step 1: Download and Install the Facebook App
Before you can create a page, you need to have the Facebook app installed on your Android phone. Here’s how to get it:
- Open the Google Play Store on your Android device.
- Search for “Facebook” in the search bar.
- Tap Install to download and install the app on your device.
Once the app is installed, tap to open it. If you don’t have an account yet, create one by following the sign-up instructions. If you already have an account, simply log in using your credentials.
Step 2: Open the Facebook Menu
To begin creating your page:
- Log in to your Facebook account if you haven’t already.
- Tap the three horizontal lines (also called the “hamburger menu”) in the top right corner of the app. This will open the main menu where you can access your settings and other features.
Step 3: Navigate to the “Pages” Section
- Scroll down the menu and look for the Pages section.
- Tap Pages, which will open a list of any existing pages you might have or manage. If you haven’t created any pages yet, this section will be empty.
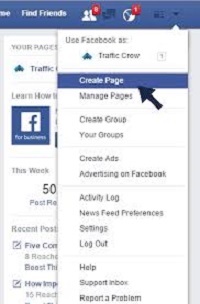
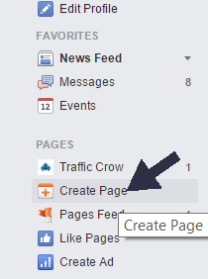
Step 4: Tap “Create New Page”
- In the Pages section, look for the Create button and tap on it.
- This will bring up a screen that prompts you to provide some basic information for your new page.
Step 5: Choose Your Page Category
When creating your page, one of the first things you’ll need to do is choose a category. This will help Facebook understand the purpose of your page and tailor your experience accordingly. You will have two primary options to choose from:
- Business or Brand: Ideal for companies, services, stores, or any business.
- Community or Public Figure: Perfect for influencers, celebrities, or communities.
Select the category that best matches the type of page you want to create. For example, if you’re a local business owner, you would select “Business or Brand.”

Step 6: Fill in Your Page Information
Next, you will need to add more details about your page. These details will help visitors understand what your page is about. Be sure to provide accurate and engaging information:
- Page Name: Enter the name of your page. This could be your business name, brand, or something related to your project.
- Category: Choose a category that best describes your page (e.g., restaurant, store, personal blog, etc.). Start typing in the box, and Facebook will suggest categories.
- Description: Add a brief description of your page. Keep it concise but informative. Explain what your page is about and what people can expect to find there.
After filling in these fields, tap Next.

Step 7: Add Profile and Cover Photos
Now it’s time to personalize your page by adding images. These images are crucial for branding and making your page stand out:
- Profile Picture: Tap Add Profile Picture and choose an image from your gallery or take a new photo. This image will appear as the main icon of your page, so use something easily recognizable, such as your logo or a clear photo of your business.
- Cover Photo: Tap Add Cover Photo to upload a photo that will appear at the top of your page. This image should complement your profile picture and provide more context about your brand or business.
Once you’ve uploaded the images, tap Next.

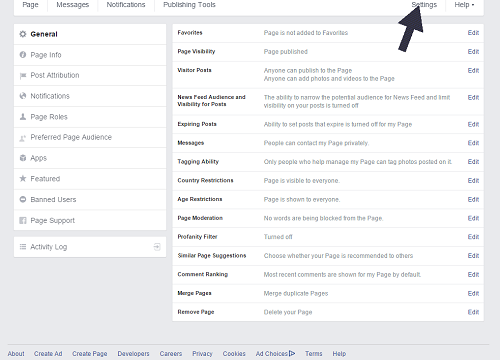
Step 8: Customize Your Page Settings
After setting up your basic details, you can customize additional settings for your page. These settings allow you to control notifications, access, and other features related to your page.
- Add a Call-to-Action Button: You can add a button on your page that encourages users to take action (e.g., “Contact Us,” “Shop Now,” or “Book Now”). Tap Add Button to set this up.
- Page Roles: If you have others helping you manage the page, you can assign them specific roles, such as Admin, Editor, or Moderator. Tap Page Roles to add people to your page.
- Notifications: Decide whether you want to receive notifications when people interact with your page. This setting helps you stay on top of any messages, comments, or posts on your page.
Step 9: Publish Your Page
Once you’ve entered all your information and customized the settings, your page is almost ready to go live! Before you publish your page, take a moment to double-check everything.
If you’re satisfied with your page, tap the Publish button to make it visible to the public.
Step 10: Promote Your Facebook Page
Now that your page is live, it’s time to promote it! Here are a few ways to get the ball rolling:
- Invite Friends: Tap on the Invite Friends button to invite people you know to like and follow your page.
- Share Your Page: Share your page on your personal timeline to let your network know about it.
- Post Regularly: Keep your page active by posting relevant content. This could include updates, promotions, or engaging posts that encourage interaction.
FAQs
- How long does it take to create a Facebook page on Android? Creating a Facebook page on Android takes only about 10-15 minutes if you have all your information ready (such as the page name, description, and images).
- Can I create a Facebook page without a personal account? No, you need a personal Facebook account to create and manage a Facebook page. However, the page will be separate from your personal profile.
- How do I change my Facebook page name after creating it? To change your Facebook page name, go to your page settings, tap on “Page Info,” and select “Edit” next to the page name. You can only change your page name once every 7 days, so make sure you’re happy with your choice!
- Can I create multiple Facebook pages on Android? Yes, you can create and manage multiple Facebook pages from the same personal account on your Android device.
- How can I delete my Facebook page if I no longer need it? To delete your Facebook page, go to your page settings, scroll down to “Remove Page,” and select “Delete [Page Name].” After 14 days, your page will be permanently deleted.
Conclusion
Creating a Facebook page on Android is an easy and straightforward process that can have a huge impact on your business or personal brand. By following these simple steps, you can establish your page, customize it to suit your needs, and start connecting with your audience. Remember to keep your page active with engaging content and promotions, and don’t forget to leverage Facebook’s tools to help you grow your online presence.

