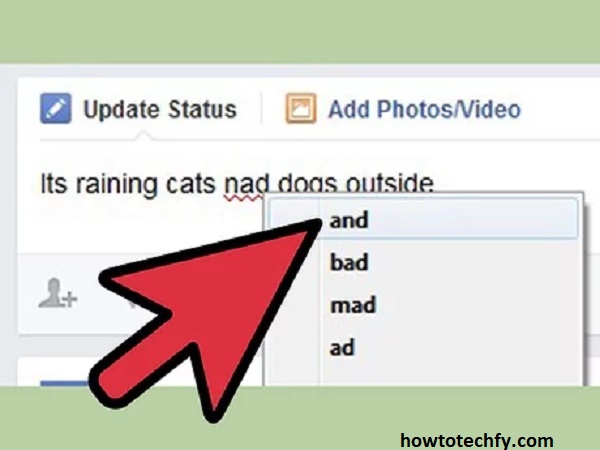
Posting on Facebook is a great way to connect with friends and share your thoughts, but typos can sometimes slip through and affect how your message is perceived. Fortunately, enabling spell check can help you avoid errors and present your posts more professionally. While Facebook doesn’t have a built-in spell check feature, you can use external tools and browser settings to ensure your writing is mistake-free. Here are three easy ways to activate spell check when using Facebook.
1. Enable Browser-Based Spell Check
Most modern web browsers, such as Google Chrome, Microsoft Edge, Firefox, and Safari, come with built-in spell check features that automatically underline misspelled words. By ensuring this feature is turned on, you can easily spot and correct errors while typing posts, comments, and messages on Facebook.
Steps to Enable Spell Check in Chrome (Similar for Other Browsers):
- Open Chrome Settings: Click on the three-dot menu in the top-right corner and select Settings.
- Scroll to Languages: Navigate to the Languages section under the Advanced settings.
- Enable Spell Check: Toggle on Spell Check under the “Use spell check for” section. You can also choose Enhanced Spell Check for better accuracy.
- Test It on Facebook: Go to Facebook, start typing a post, and look for red underlines indicating spelling errors.

Why This Works:
Browser-based spell check applies across all websites, including Facebook, ensuring consistent error detection no matter where you’re typing.
2. Use Grammarly or Other Writing Tools
Grammarly is a popular grammar and spell-checking tool that integrates seamlessly with web browsers. It not only catches spelling errors but also improves grammar, punctuation, and overall readability. Grammarly offers a free browser extension that activates whenever you type on Facebook.
How to Use Grammarly for Facebook:
- Download Grammarly Extension: Visit the Chrome Web Store (or your browser’s extension store) and install the Grammarly extension.
- Create an Account: Sign up for a free Grammarly account if you don’t already have one.
- Activate the Extension: Once installed, Grammarly will automatically check your writing as you type on Facebook. Misspelled words and grammar suggestions will appear with underlines or tooltips.
- Make Corrections: Click on underlined words to see suggested corrections and apply them with a single click.

Why This Works:
Grammarly provides more than just spell check – it enhances the quality of your writing, helping you craft better, more engaging posts.
3. Use Mobile Keyboard Spell Check
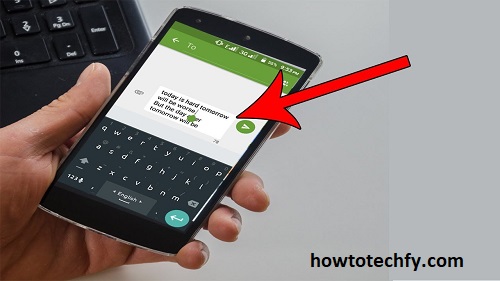
If you primarily use Facebook on your phone, your mobile keyboard likely already has a spell check feature that can help prevent errors in your posts and comments. Both Android and iOS devices offer built-in autocorrect and spell check options that can be enabled in the settings.
Steps to Enable Spell Check on iPhone (iOS):
- Open Settings: Go to Settings > General > Keyboard.
- Enable Auto-Correction and Spell Check: Toggle on Auto-Correction and Check Spelling.
- Type on Facebook: As you type on the Facebook app, misspelled words will be automatically corrected or underlined.

Steps to Enable Spell Check on Android:
- Open Settings: Go to Settings > System > Languages & Input > On-screen Keyboard.
- Choose Your Keyboard: Select Gboard or the keyboard you use.
- Enable Spell Check: Turn on Spell Check and Auto-Correction.
- Test on Facebook: Type on Facebook and see the corrections as you go.
Why This Works:
Your mobile keyboard’s spell check is intuitive, real-time, and applies to all apps, including Facebook, ensuring mistake-free posts on the go.
Conclusion
Ensuring your Facebook posts are free of spelling mistakes is simple with the right tools. By enabling browser-based spell check, installing Grammarly, or using your phone’s spell check feature, you can easily create polished and professional content. These methods not only help prevent typos but also improve the clarity and effectiveness of your communication on Facebook.

