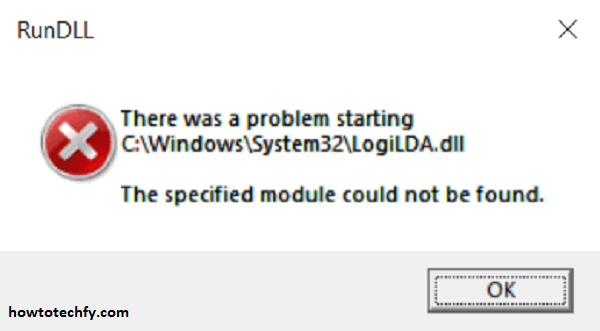
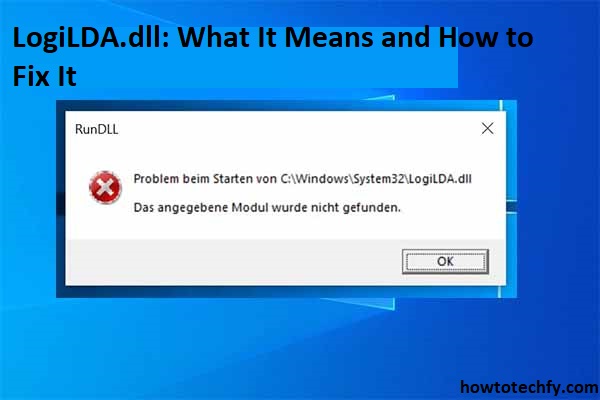
The LogiLDA.dll error is commonly encountered on Windows computers, especially for users who have Logitech devices and software installed. This DLL file is associated with the Logitech Download Assistant, which helps manage Logitech devices like keyboards, mice, and webcams. When the LogiLDA.dll file is missing, corrupted, or outdated, it can result in error messages or problems with your Logitech hardware. If you’re experiencing this error, here are three easy ways to fix it.
1. Reinstall Logitech Software
Why This Works:
The LogiLDA.dll file is part of the Logitech software suite, so if the file is corrupted or missing, reinstalling the Logitech software can replace the DLL file and resolve the error. This is one of the most straightforward ways to fix the issue.
Steps to Reinstall Logitech Software:
- Press Windows + X and select Apps and Features or Programs and Features.
- Scroll down to find the Logitech software (such as Logitech SetPoint, Logitech Options, or Logitech Gaming Software).
- Click on the software name and select Uninstall.
- After uninstallation, restart your computer.
- Go to the official Logitech website and download the latest version of the Logitech software for your device.
- Install the software and restart your computer again.

Outcome:
Reinstalling the Logitech software ensures that the LogiLDA.dll file is properly installed, potentially fixing the error.
2. Run System File Checker (SFC)
Why This Works:
The System File Checker (SFC) is a built-in Windows tool that scans for corrupted or missing system files, including DLL files. If the LogiLDA.dll error is caused by corruption in Windows system files, running SFC can help repair it.
Steps to Run System File Checker (SFC):
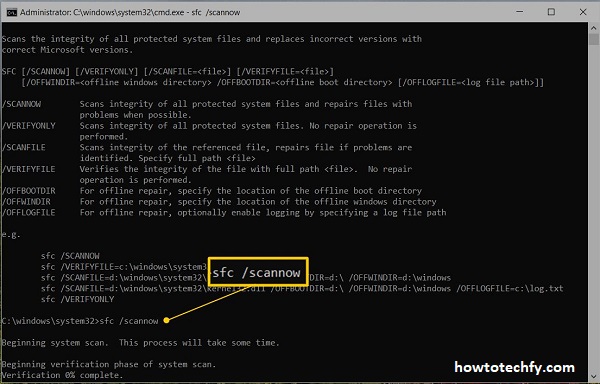
- Press Windows + X and select Command Prompt (Admin) or Windows PowerShell (Admin).
- In the command window, type the following command and press Enter:
- The SFC tool will begin scanning your system for corrupted files, including any issues with the LogiLDA.dll file.
- Once the scan is complete, restart your computer.

Outcome:
The SFC tool will attempt to fix any corrupted or missing system files, including the LogiLDA.dll file. If the file was the cause of the error, this method should resolve it.
3. Manually Replace LogiLDA.dll
Why This Works:
If the LogiLDA.dll file is specifically corrupted or missing, manually replacing it with a fresh copy can fix the error. However, this should be done carefully, as downloading DLL files from unofficial sources can be risky.
Steps to Manually Replace LogiLDA.dll:
- First, make sure to download the LogiLDA.dll file from a trusted source (such as the official Logitech website).
- Once downloaded, copy the LogiLDA.dll file.
- Navigate to the folder where the Logitech software is installed. Typically, this will be one of the following locations:
- C:\Program Files\Logitech\SetPoint
- C:\Program Files (x86)\Logitech\SetPoint
- Paste the LogiLDA.dll file into this folder.
- Restart your computer to see if the error is resolved.

Outcome:
By manually replacing the missing or corrupted LogiLDA.dll file, you should be able to fix the error. Be sure to only download the DLL from a reputable source to avoid malware or other issues.
Conclusion
The LogiLDA.dll error is typically caused by issues with the Logitech software or the system files associated with it. If you’re facing this error, you can easily fix it by:
- Reinstalling the Logitech software to ensure the DLL file is correctly installed.
- Running System File Checker (SFC) to repair any corrupted system files.
- Manually replacing the LogiLDA.dll file if it’s missing or damaged.
By following these simple steps, you should be able to resolve the error and restore the proper functionality of your Logitech devices. If the problem persists even after these fixes, consider reaching out to Logitech support for further assistance.

